How To Use Grammarly For WordPress Content Creation
 Do you want to make your blog content easy to read? If so, a grammar checker can help you. There are many grammar tools available online. However, only a few such as Grammarly can be integrated into WordPress sites.
Using Grammarly on your WordPress blog, you can spot and fix spelling and grammatical errors before publishing your content online.
This tool is handy because it saves you a lot of time you would have spent proofreading and editing your work before you publish.
In this guide, we will show you how to use Grammarly for content creation on your WordPress site. But first, let us discuss some of the features and benefits that make this tool a great option.
If you would like to go straight to Grammarly for WordPress integration, you can use the links below to navigate to that part.
Content:
- Benefits of Using Grammarly
- How to Integrate Grammarly with WordPress
- How to Use the Grammarly Editor
- How to Use Grammarly in WordPress Editor
- Conclusion
Benefits of Using Grammarly
Aside from being one of the best and most popular grammar checking tools, Grammarly also provides easy integrations for WordPress sites and other writing programs.
Grammarly uses Artificial Intelligence that is designed to fine-tune your grammar and spelling. And it does so by studying the context of the previous texts you have written. It checks for misspelled words, missing commas, and the use of redundant words.
Interestingly, the basic tool is free to use and is designed to improve your writing because it provides explanations for the errors it detects. Below are some of the key features of Grammarly.
- It does not require extra configurations.
- Grammarly provides extensions for most web browsers such as Chrome and Firefox. The extension will work on any text field on your browser including the wp editor and social media post forms.
- You can save your work on Grammarly and resume from any device around the world.
- Grammarly premium comes with a plagiarism detector tool and an advanced context checker.
- Grammarly native apps can be integrated into most Word Processing applications such as Google Docs, MS Word, etc.
- It provides explanations on errors that can be useful when writing in the future.
If you want to upgrade to the premium version of Grammarly, it costs $12/month for a single license. Additionally, if you have a team of content marketers, you can use their Business Plan that lets you add up to 150 team members.
How to Integrate Grammarly with WordPress
Unfortunately, at the time of making this post, there are no WordPress plugins to integrate Grammarly and WordPress.
However, if you install the browser extension or the native application on your device, you will be able to access all Grammarly tools and features from any text editor on your computer.
Depending on the browser you are using, Grammarly provides an extension to integrate their services to your browser. Below we will show you how to install the Grammarly extension on a few browsers.
Side note: Most SEO plugins such as Yoast SEO provide readability suggestions to help you improve your content. You can find this feature below your WordPress editor if you install any of the plugins.
How to Install Grammarly Extension on Google Chrome
Google chrome is one of the most popular web browsers available for both PCs and mobile devices. To install the extension, simply head over to Chrome Web Store and type “Grammarly” on the search box as seen below.
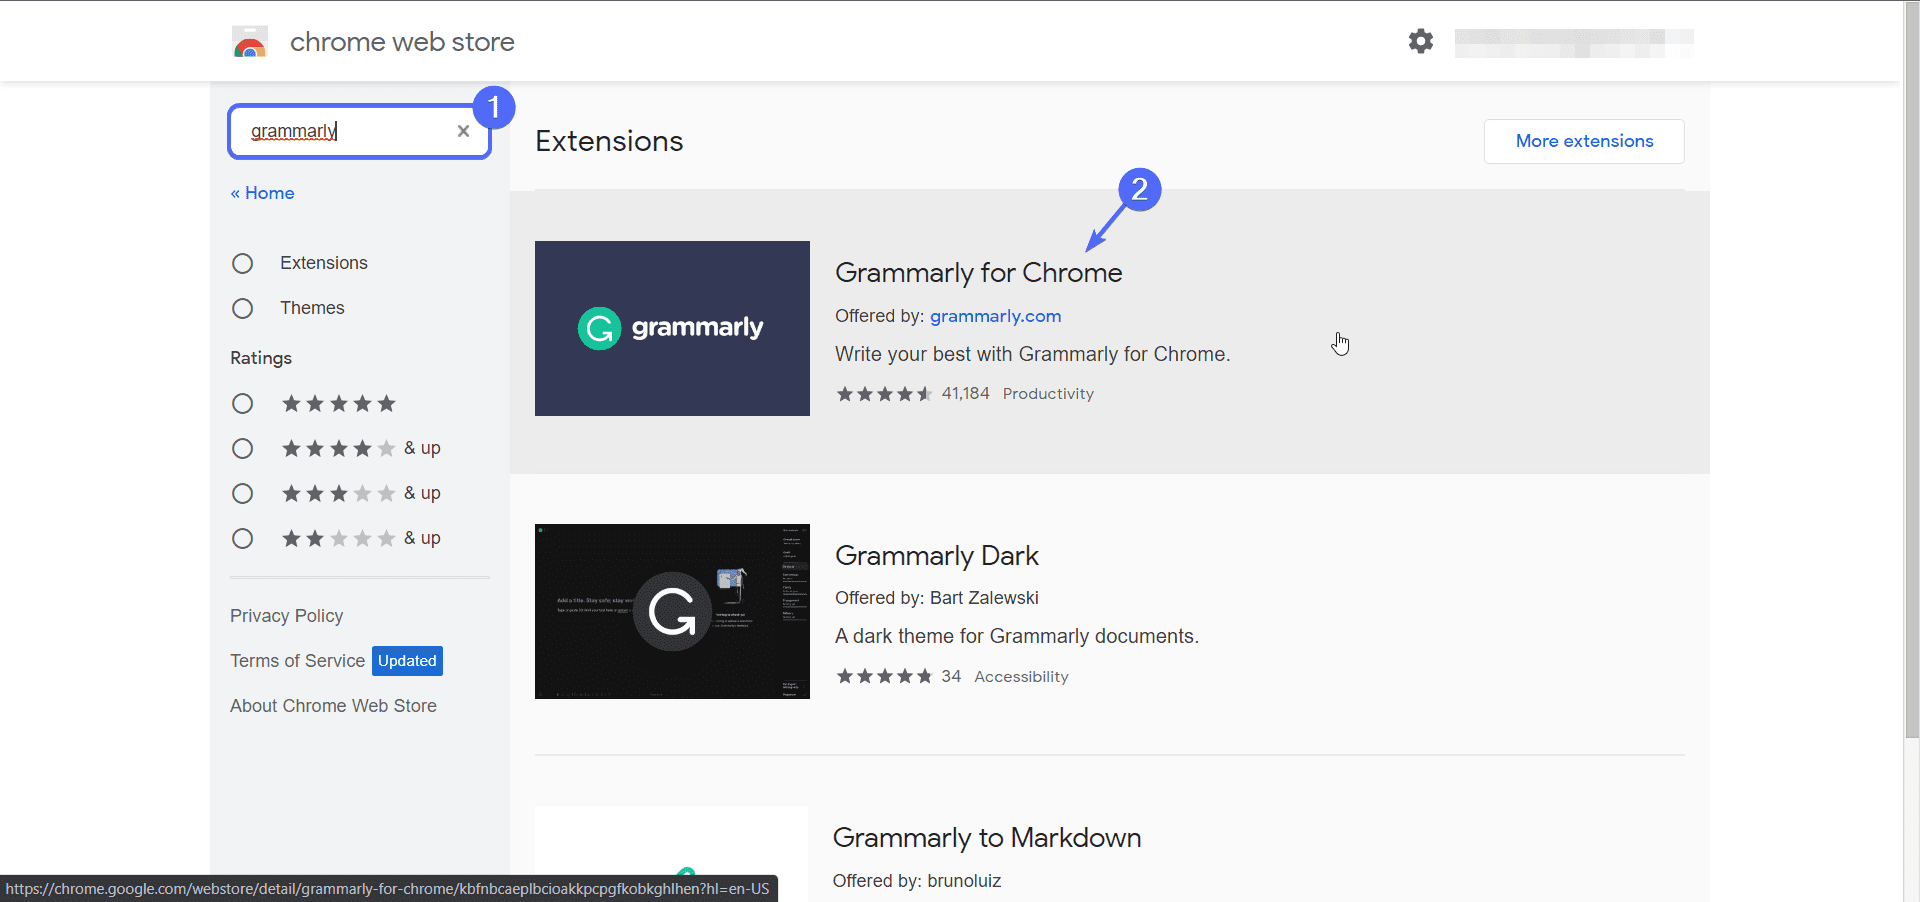
Now, select the Grammarly for Chrome option. And on the next page, click on the Add to Chrome button.

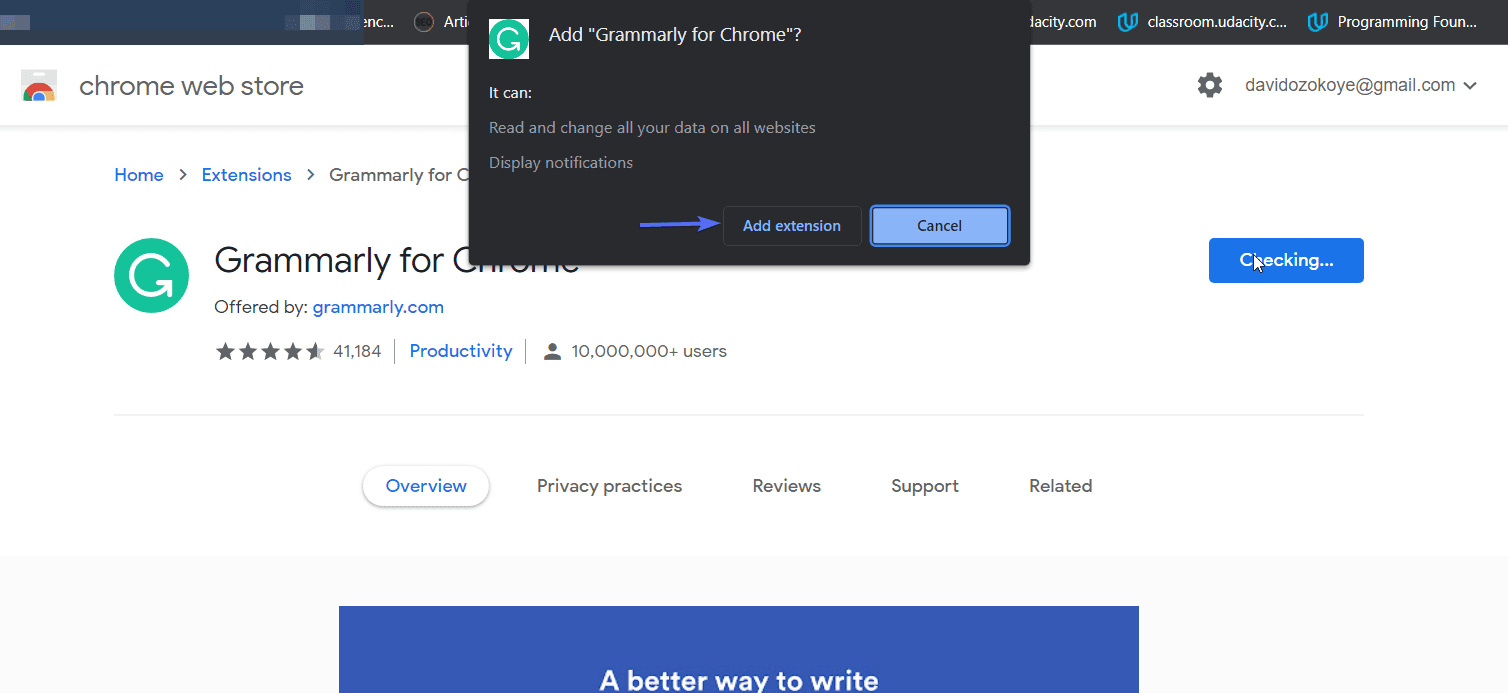
A popup will appear showing the permissions this plugin will have on your browser. Click on the Add Extension button to complete the installation.
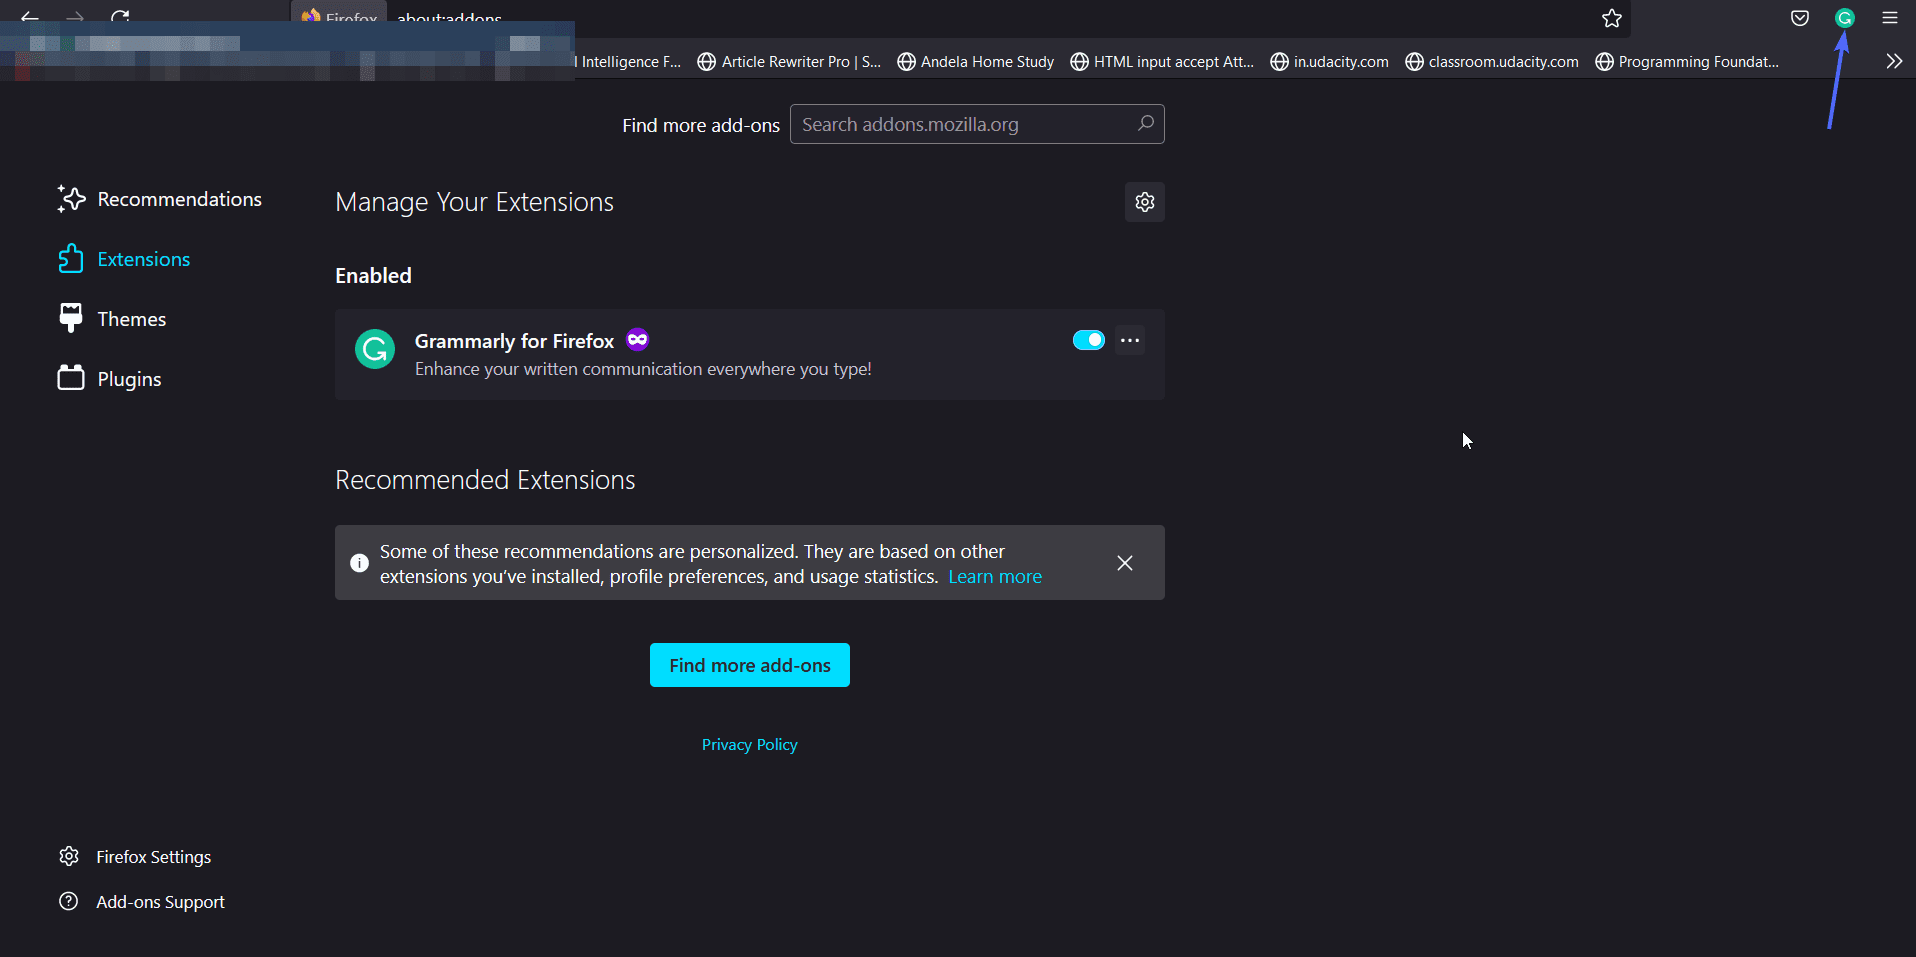
Once done, you will see the grammarly icon on your browser. Grammarly is now set to analyze any text field on your browser for spelling and grammar mistakes.
Install Grammarly Extension on Mozilla Firefox
If you are using Mozilla Firefox, you can install the extension from Mozilla’s Add-ons page. Once there, type “grammarly” on the search box and then select the Grammarly for Firefox plugin.
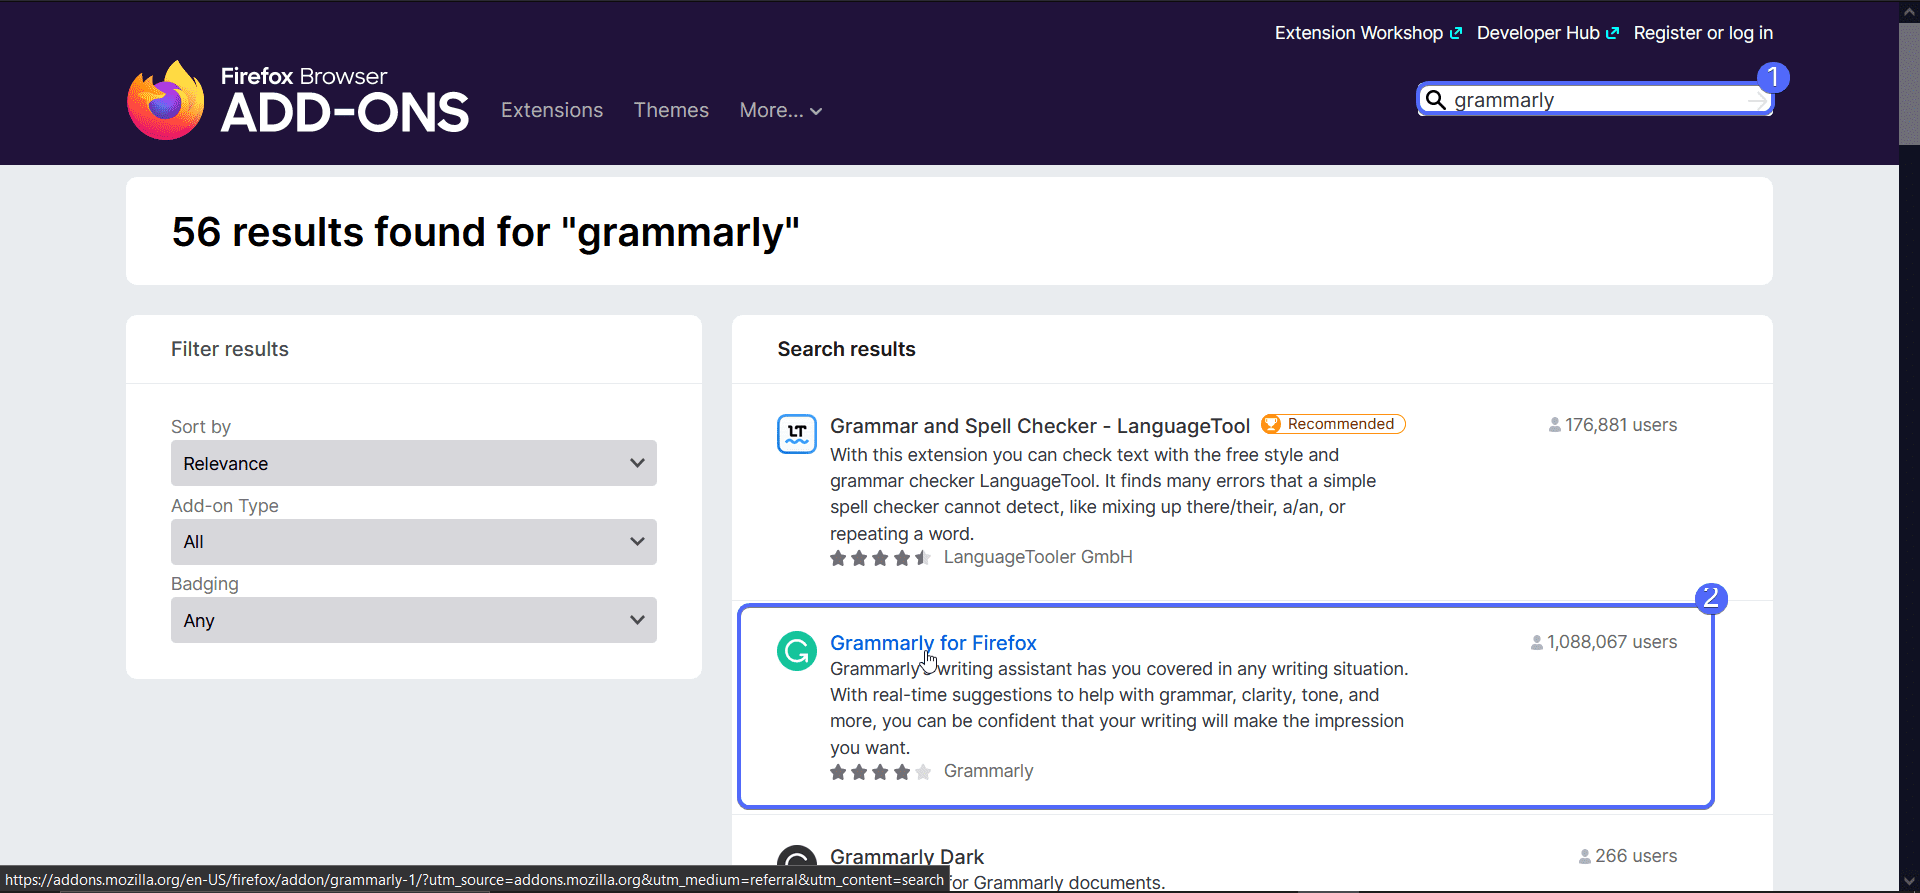
On the next page, click on the Add to Firefox button to install this extension on your browser.
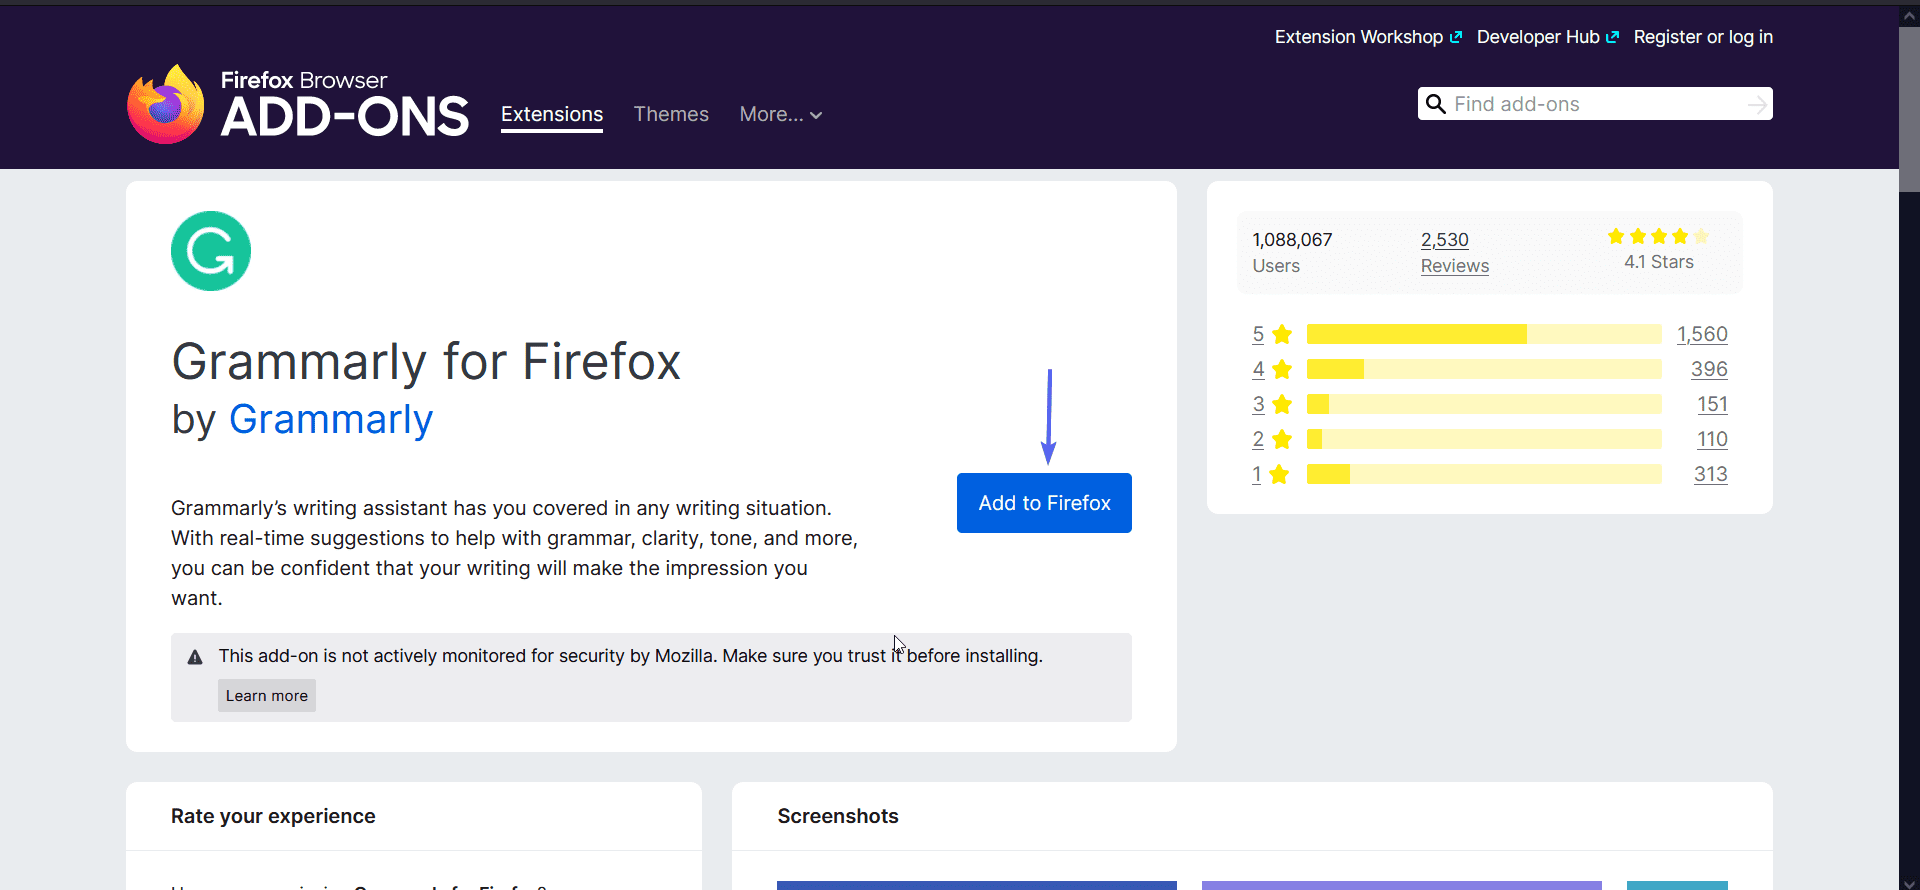
Once the installation completes, you will immediately find the Grammarly icon on the right side of your browser as seen below.
Side note: Grammarly extension can only be installed on laptops/desktop devices. However, we will show you how to use Grammarly on mobile devices.
Install the Native Grammarly Application
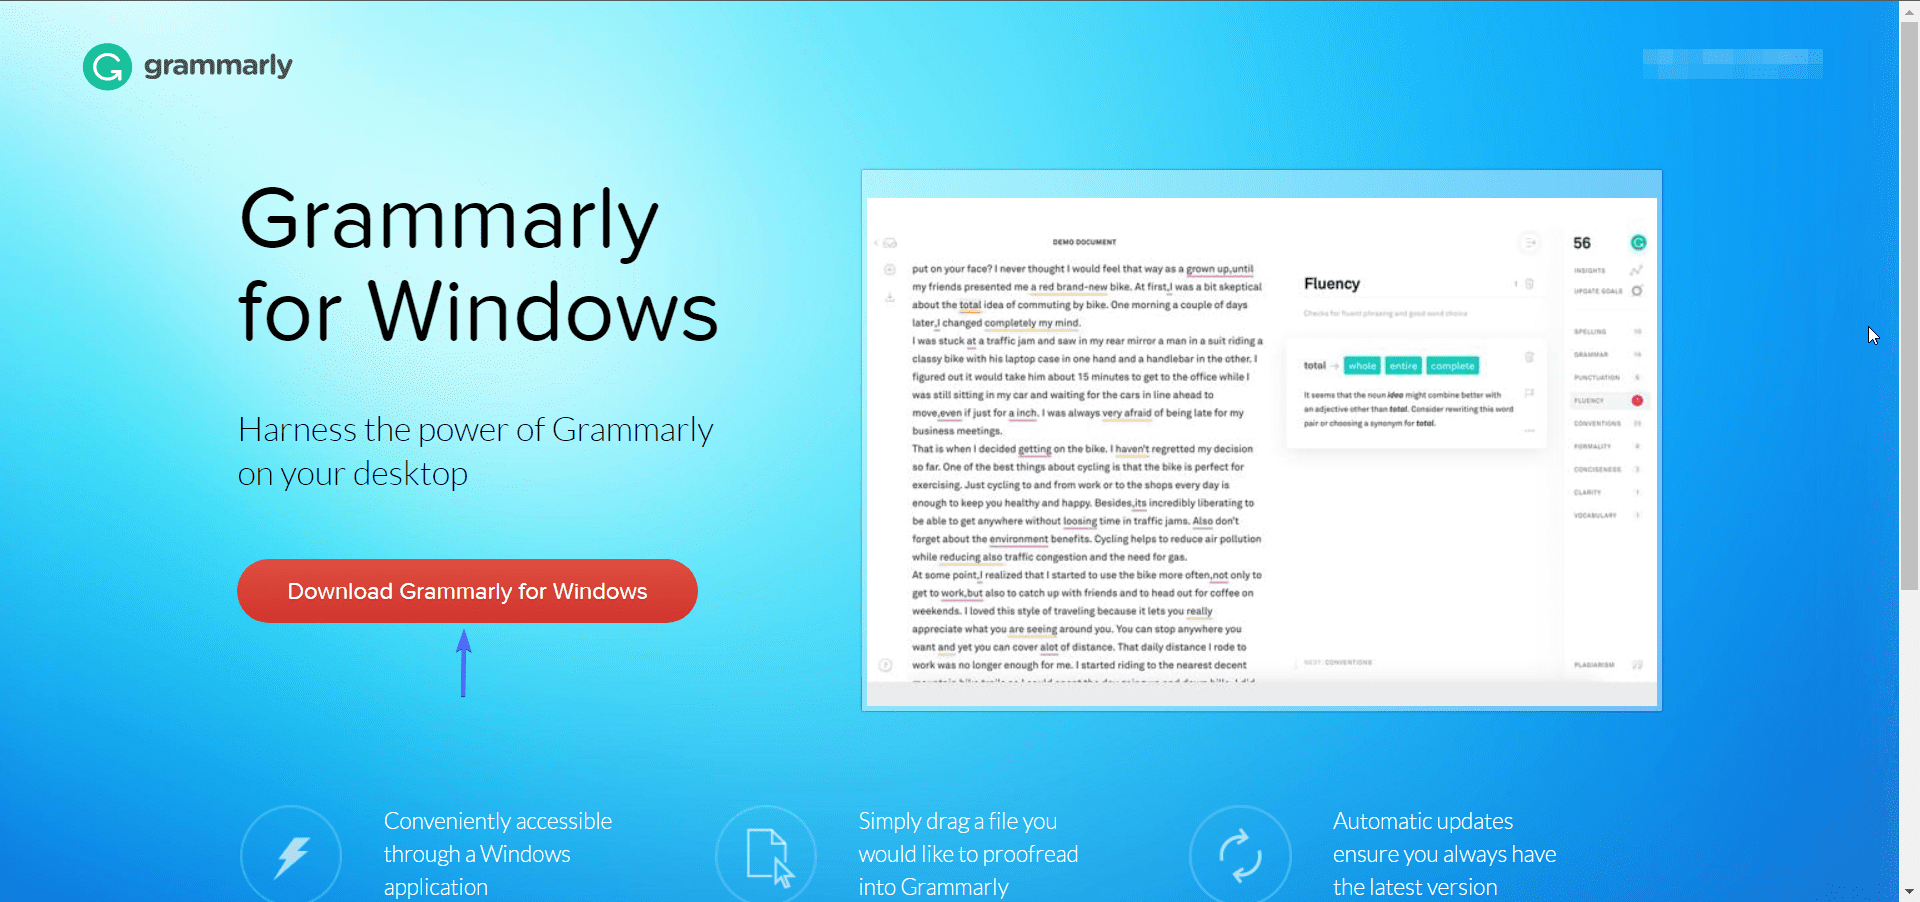
Aside from the Grammarly browser extension, they also have a native application that you can install on your PC. Once installed, you can use Grammarly on any of your system’s word processors such as Microsoft Word.
To install the desktop app, head over to this page and select the Download option for your operating system.
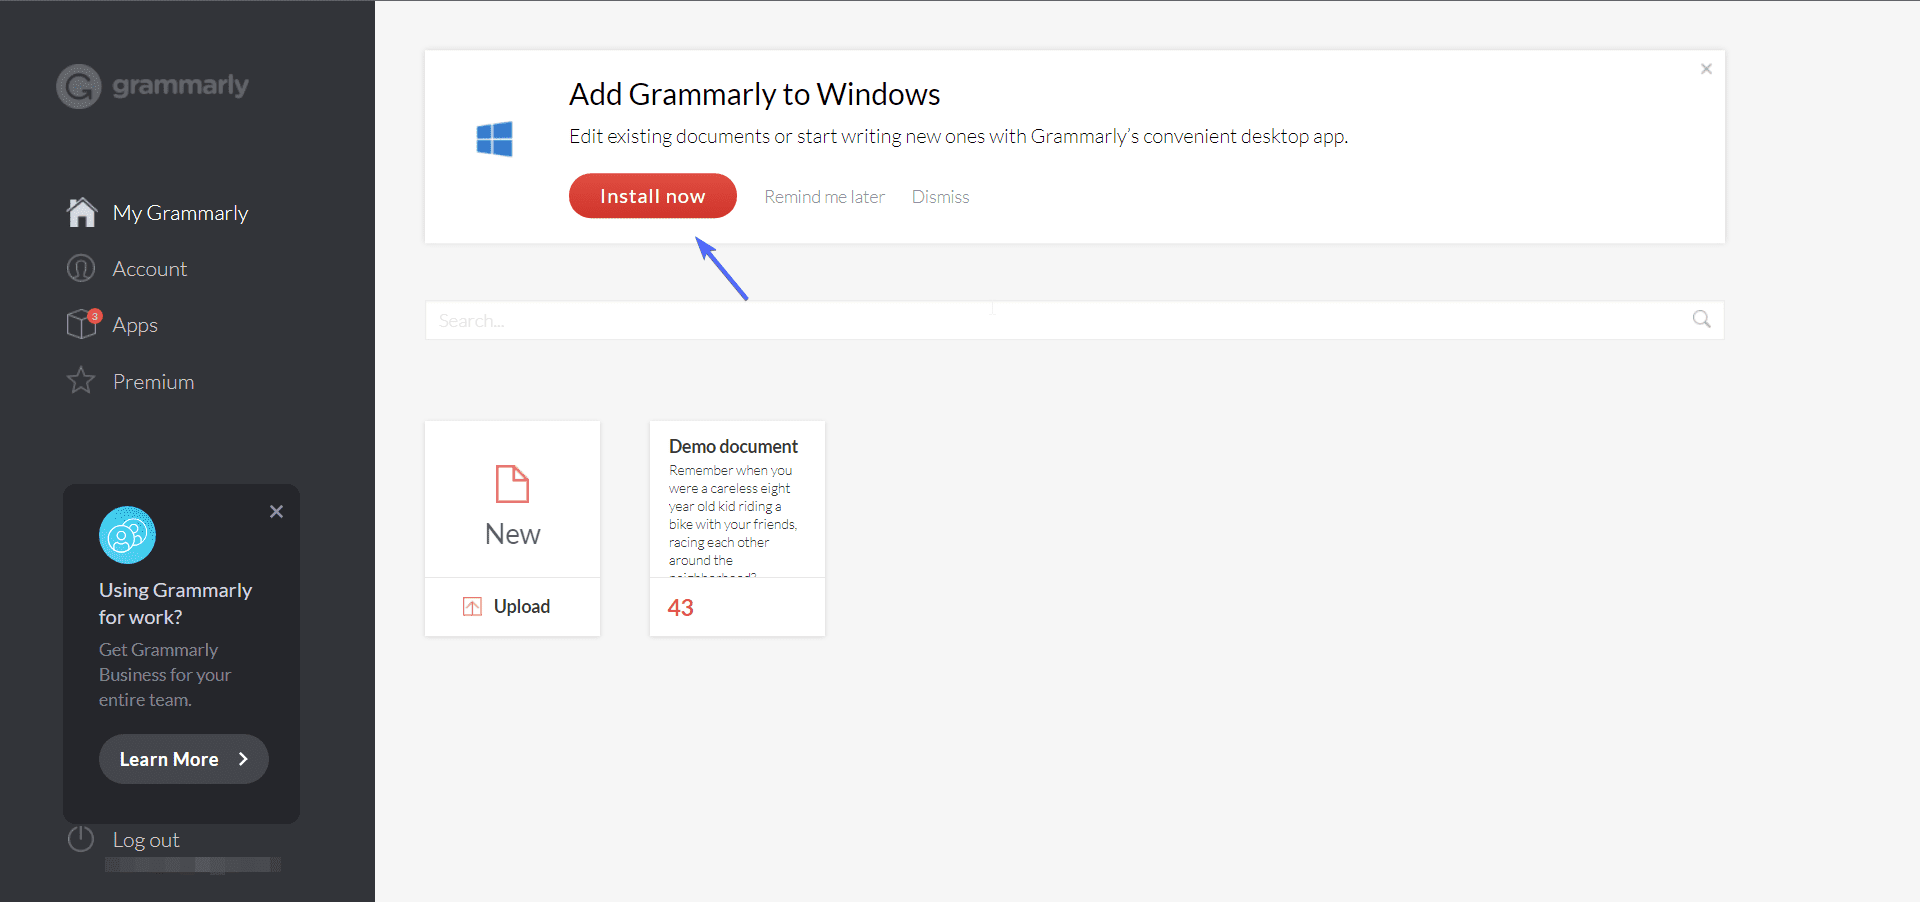
Alternatively, if you have an account with Grammarly, simply login and click on the Install Now button on your dashboard.
After the download is complete, simply run the installation and you are good to go.
Install Grammarly for Mobile Devices – Grammarly for WordPress
Some users generally prefer using their mobile devices for writing or publishing content online. Since Grammarly cannot be installed on a mobile browser, it becomes an issue to check and correct errors on your blog post before publishing.
Fortunately, Grammarly has a mobile application that is available for both Android and iOS devices. Essentially, it will be added as a keyboard on your smartphone when you install the application.
You will need to select the Grammarly keyboard as your default keyboard after installing the app on your phone. Doing this will enable Grammarly to highlight spelling and grammar errors in your content.
How to Use The Grammarly Editor
After installing the extension on your browser, you will see the Grammarly icon next to the address bar of your browser.
You can use the extension without having to sign up for an account with Grammarly. However, to get support from the Grammarly team, you need to register for a free or premium Grammarly account.
After creating your account, Grammarly will start watching your text editor for spelling errors. You can use the Grammarly editor from your dashboard to edit your own writing.
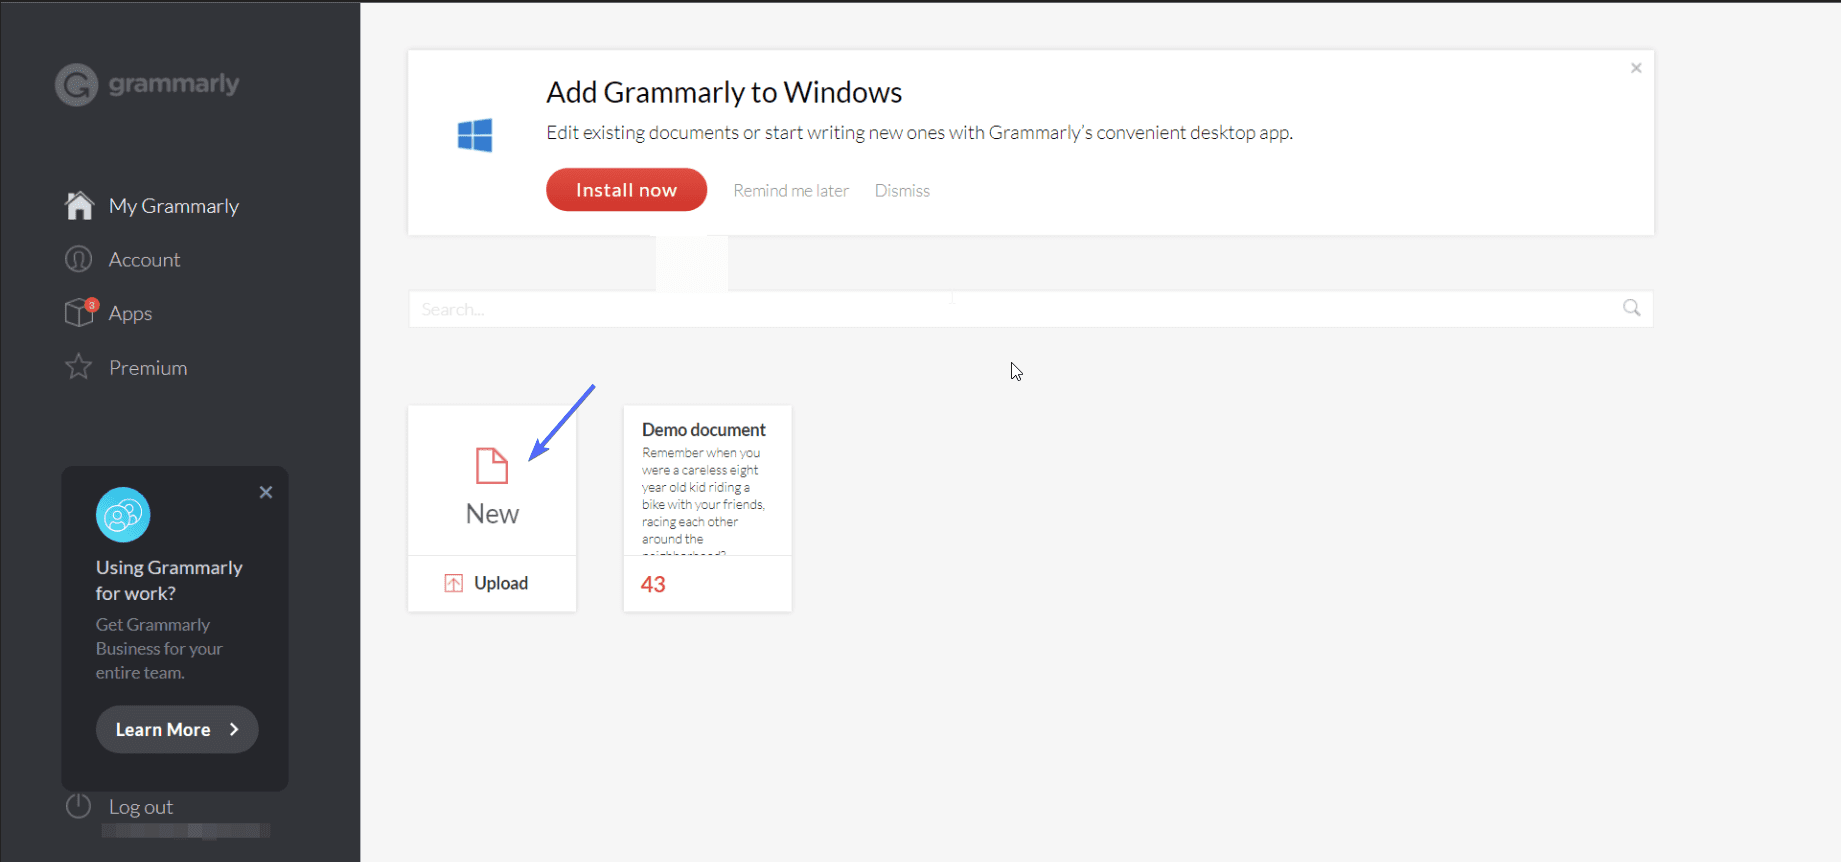
To start, login to your Grammarly account and click on the New icon.
Side note: If you already have a copy of the document on your computer, click on the Upload icon instead, and then select the file from your file manager.
On the next page, you can copy and paste your work into the text editor on the “Demo document” section.
Now, Grammarly check will automatically scan the document and display all the errors on your work. The red lines denote either a spelling or grammar error.
When you click on it, you will see more details about the spelling error. It will also suggest the right spelling for you to choose from.

Under “All suggestions”, you can click on a particular error to display more information about the error.
If it is a grammar error, you will see a note to that effect along with a suggestion to resolve the error.
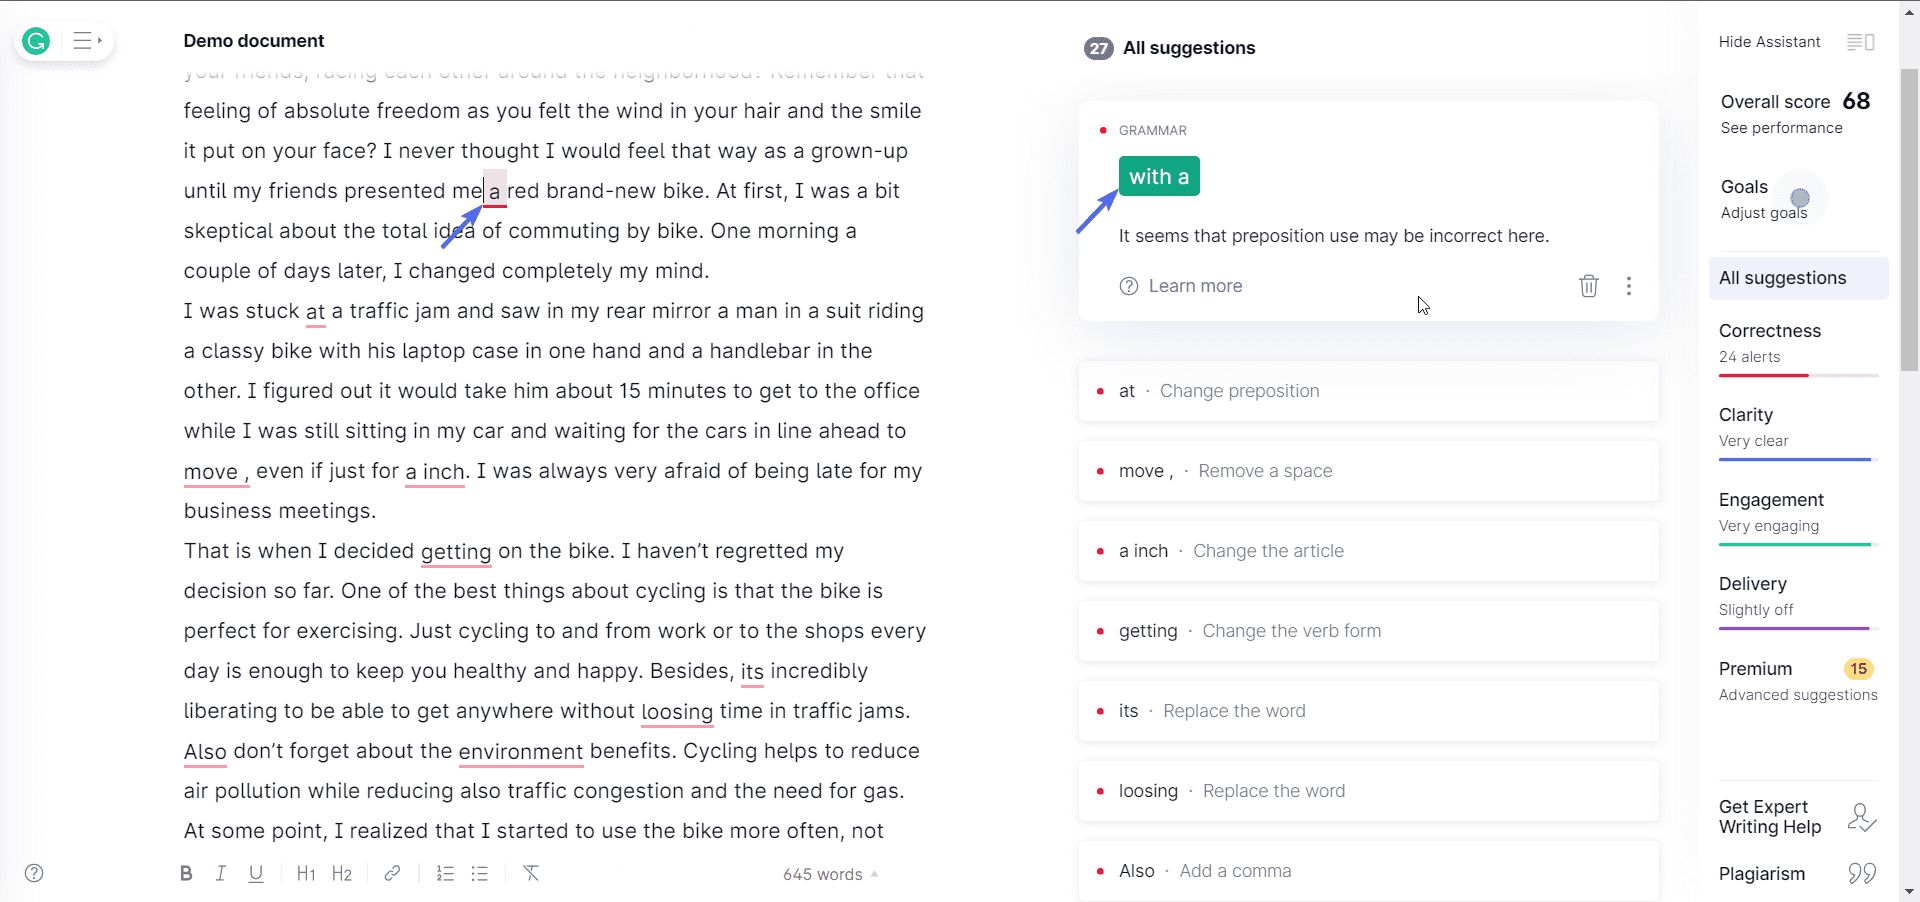
If you see a blue line, it means Grammarly is suggesting a simpler version for the phrase or sentence. You can either accept or ignore the suggestion.
On the right-hand side, you will find the overall score for your document. You should aim for high scores within the range of 80 – 100.
How to Use Grammarly for WordPress Content Creation
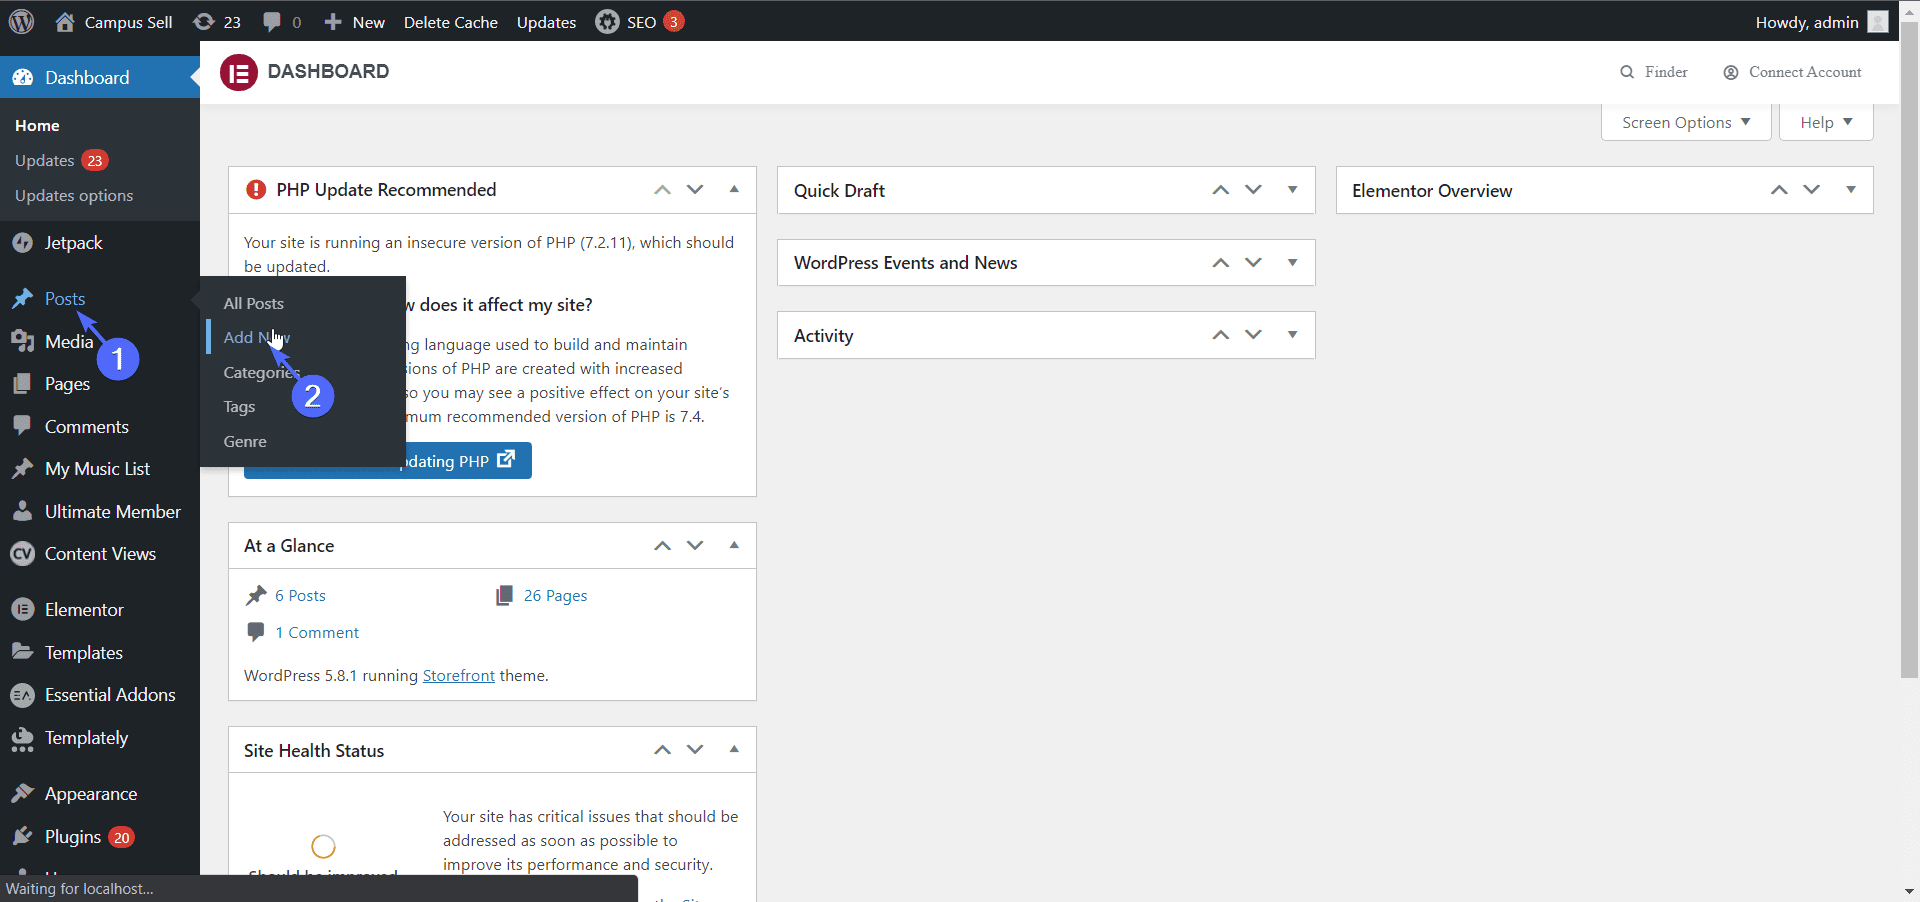
To use Grammarly on your WordPress site, first, login to your WordPress dashboard and create a new post or page. For this, go to Posts >> Add New.
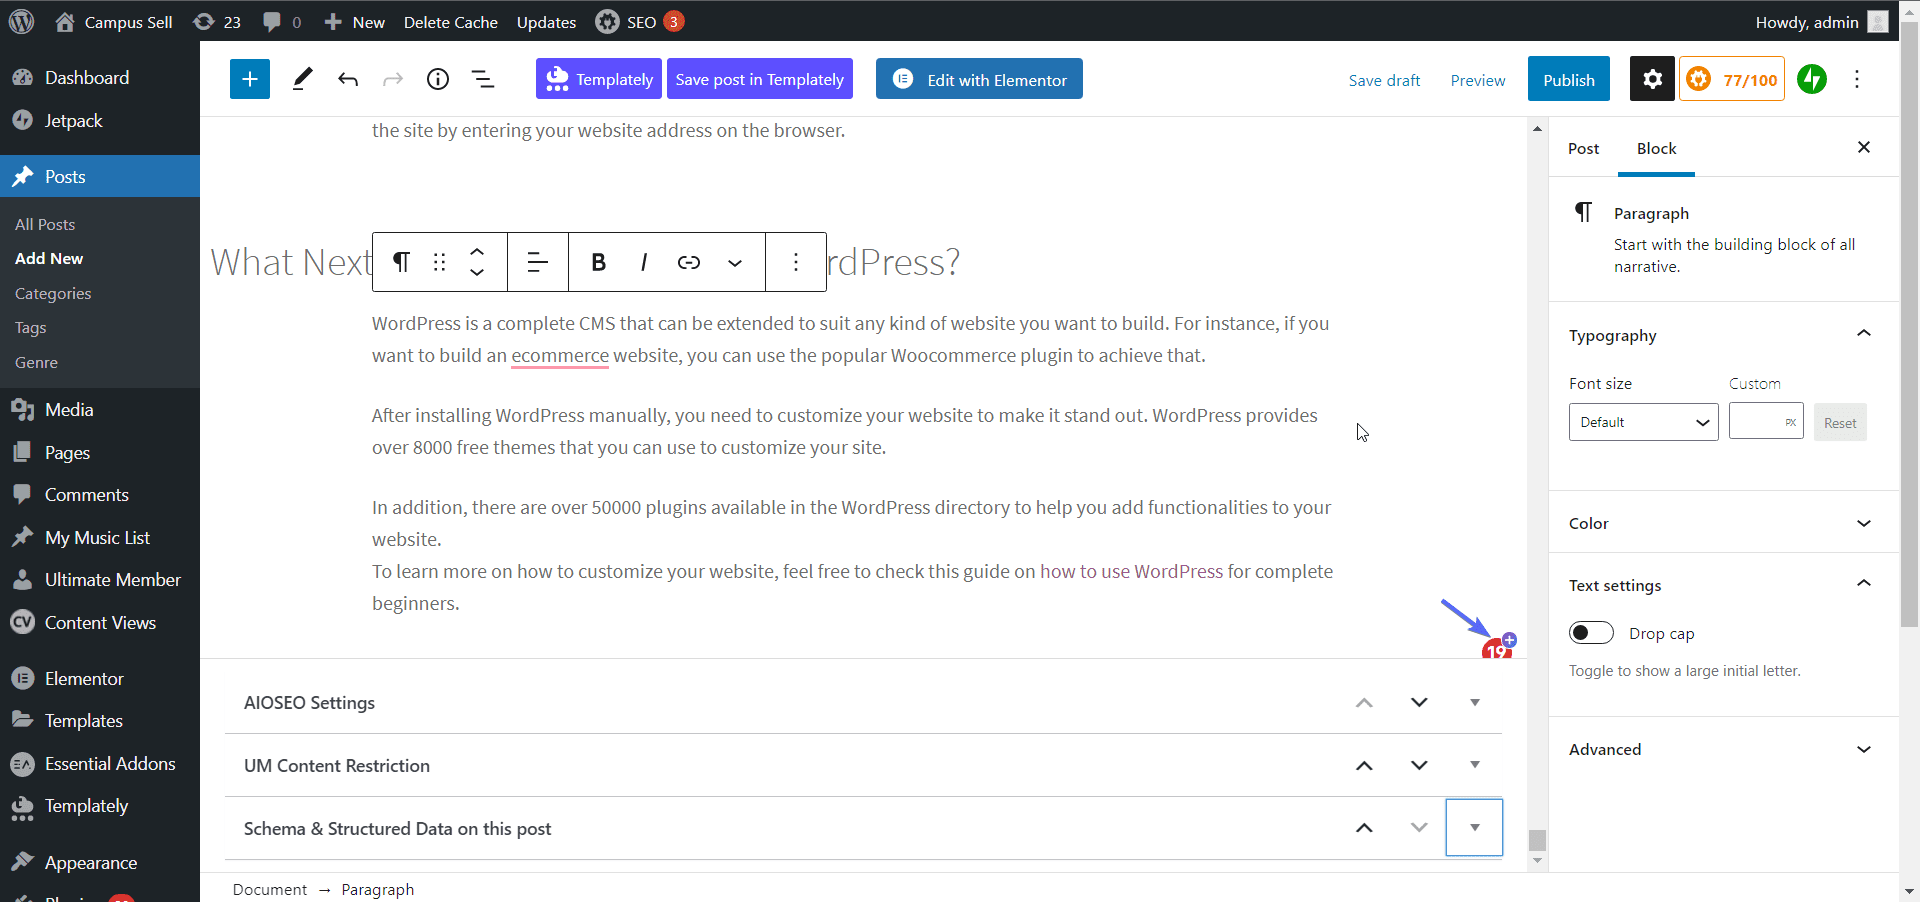
Once you open the post editor (either classic editor or Gutenberg editor), you will see the Grammarly icon at the bottom right side of your screen (as long as Grammarly is installed in your browser as explained above).
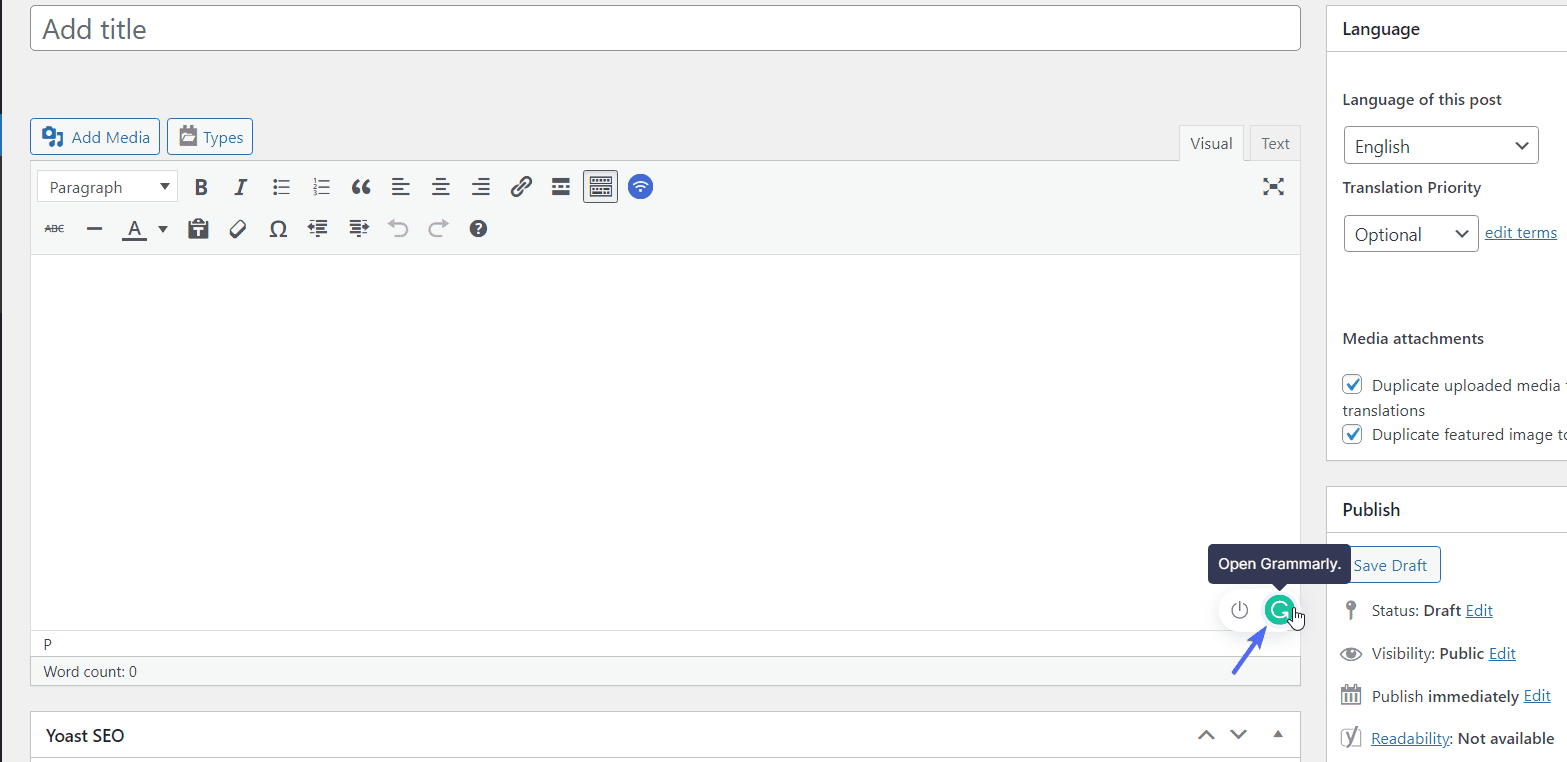
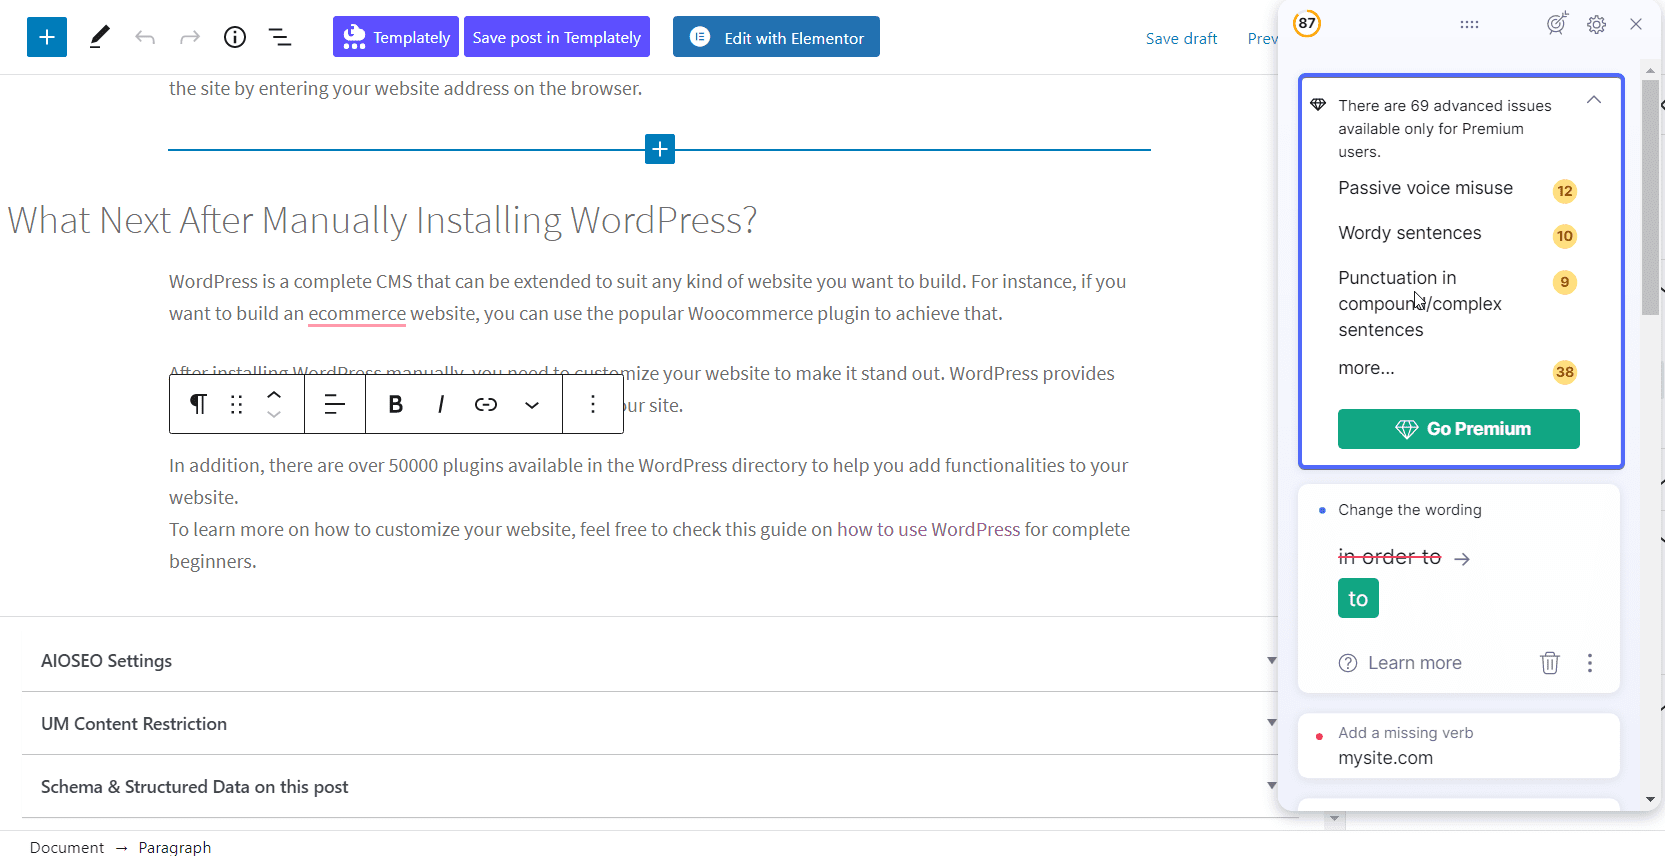
As you begin to type, Grammarly will perform grammar and spelling checks on your work. When there is an error, the green icon will turn red. And the red icon will show the number of errors on your blog post.
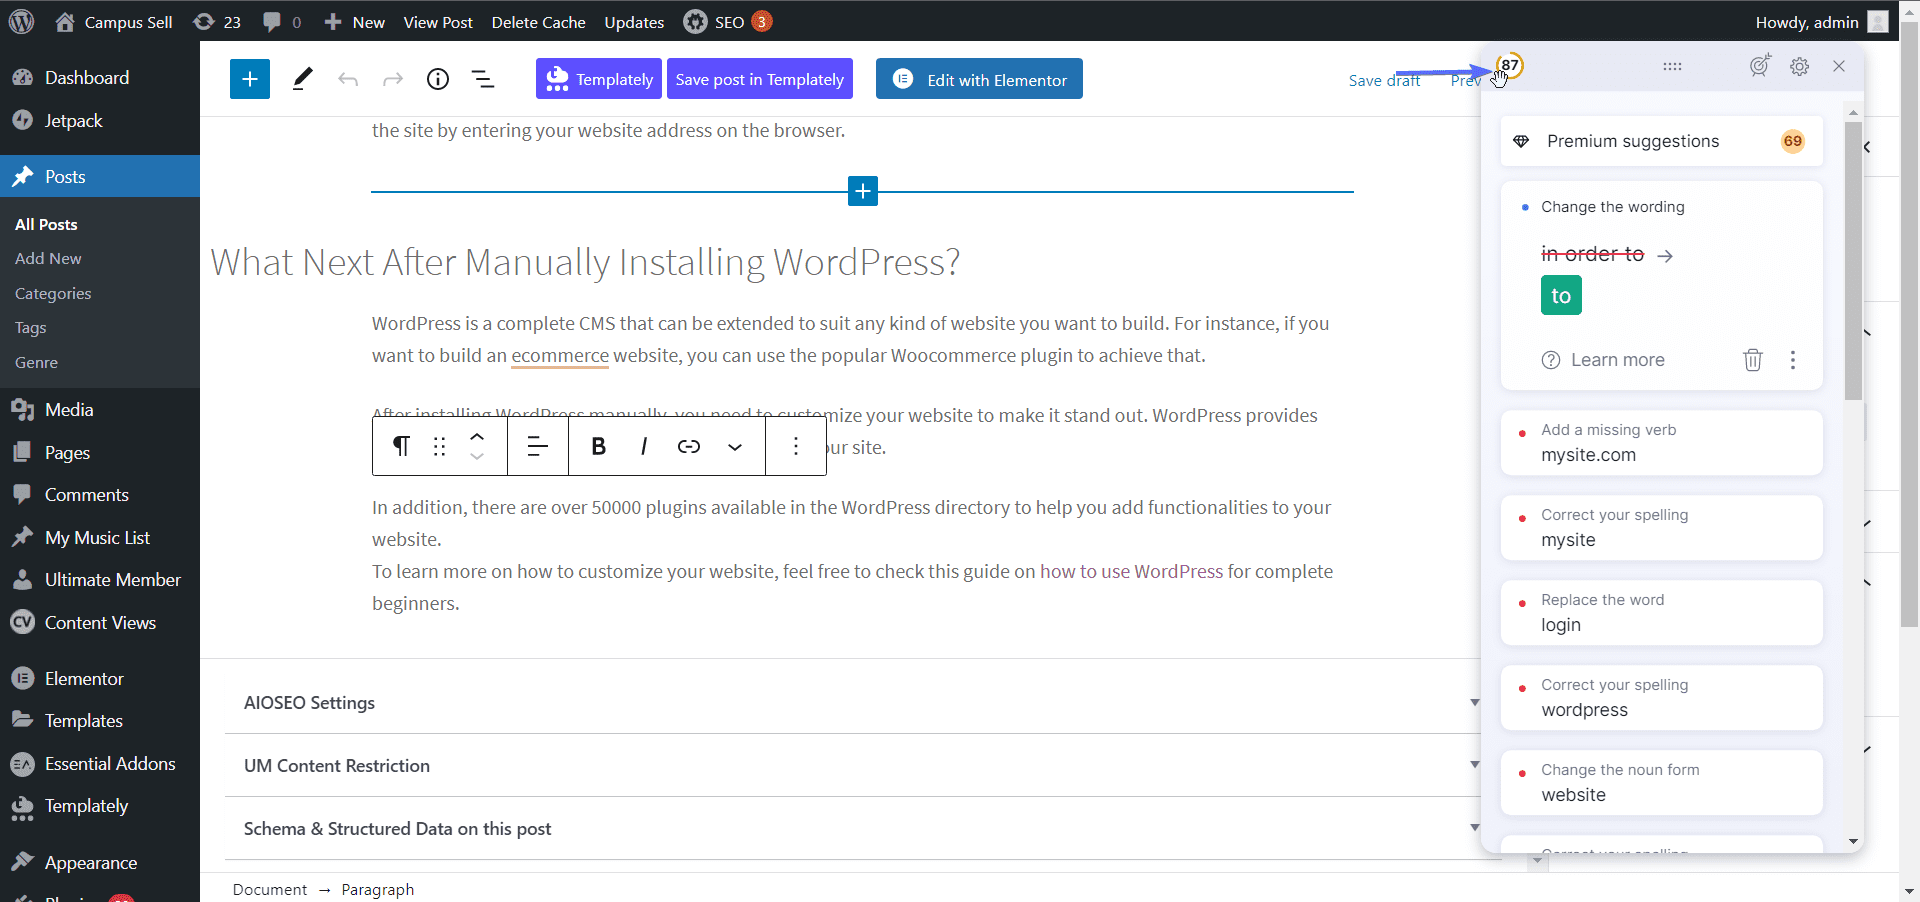
Once you click on the red icon, it will open up the Grammarly editor.

In this editor, you can either accept the corrections suggested by Grammarly or skip them by clicking the Delete icon.
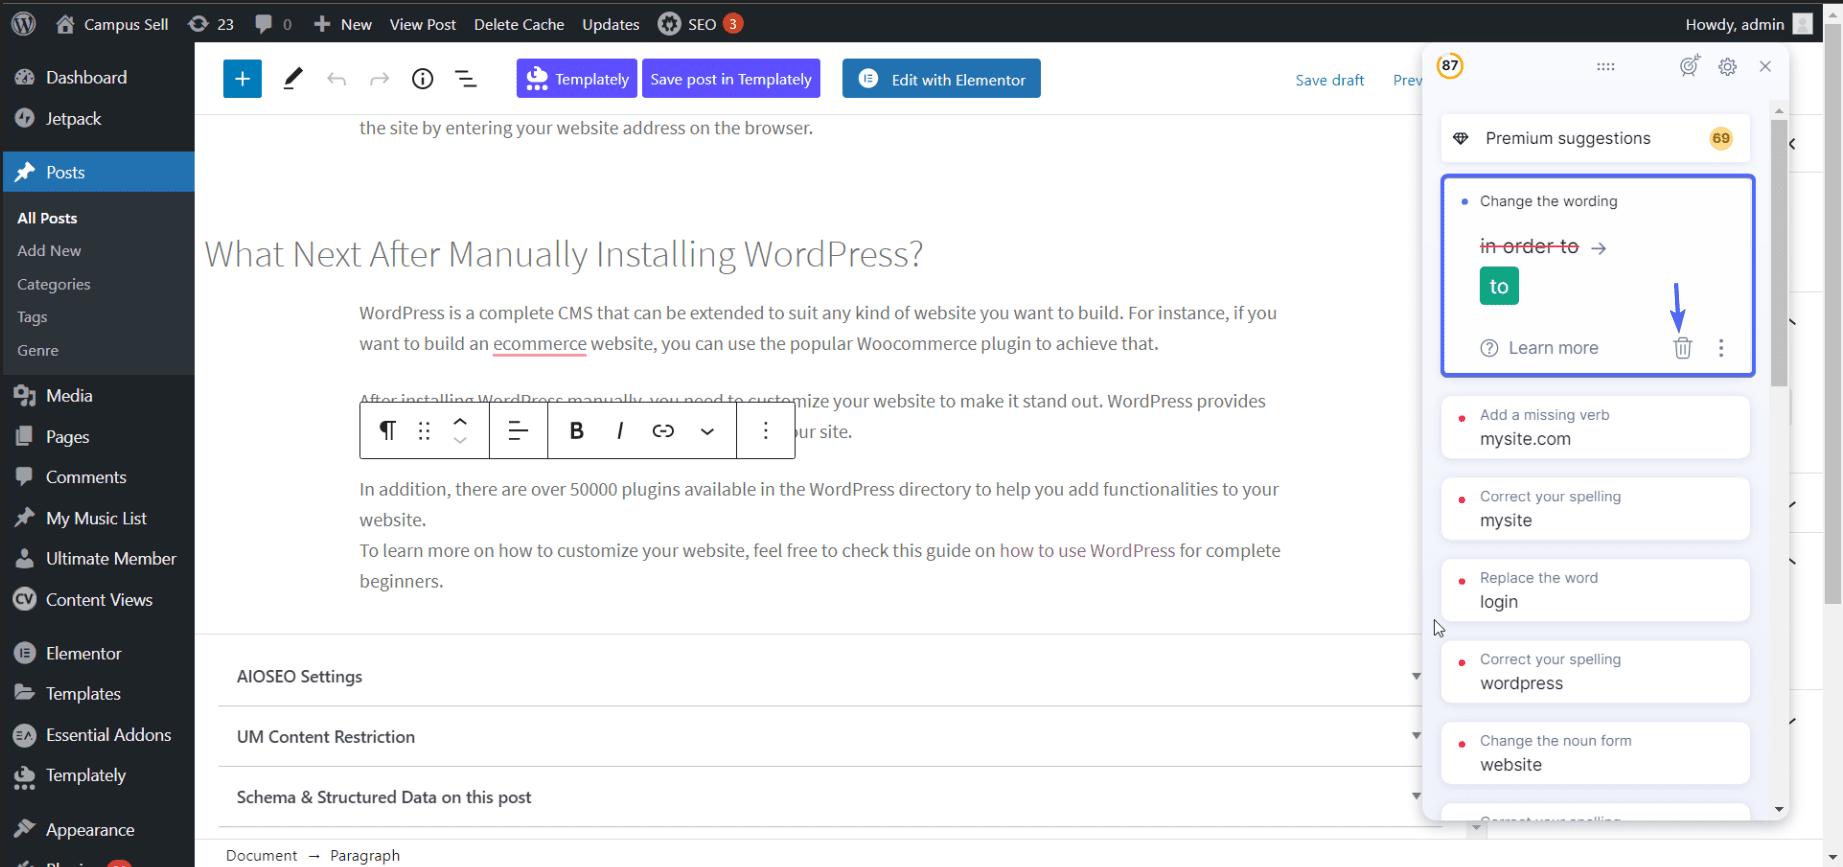
You also have the option to resolve the errors from your WordPress post editor. When you hover over the word with the red line, it will show the suggestions to fix it.
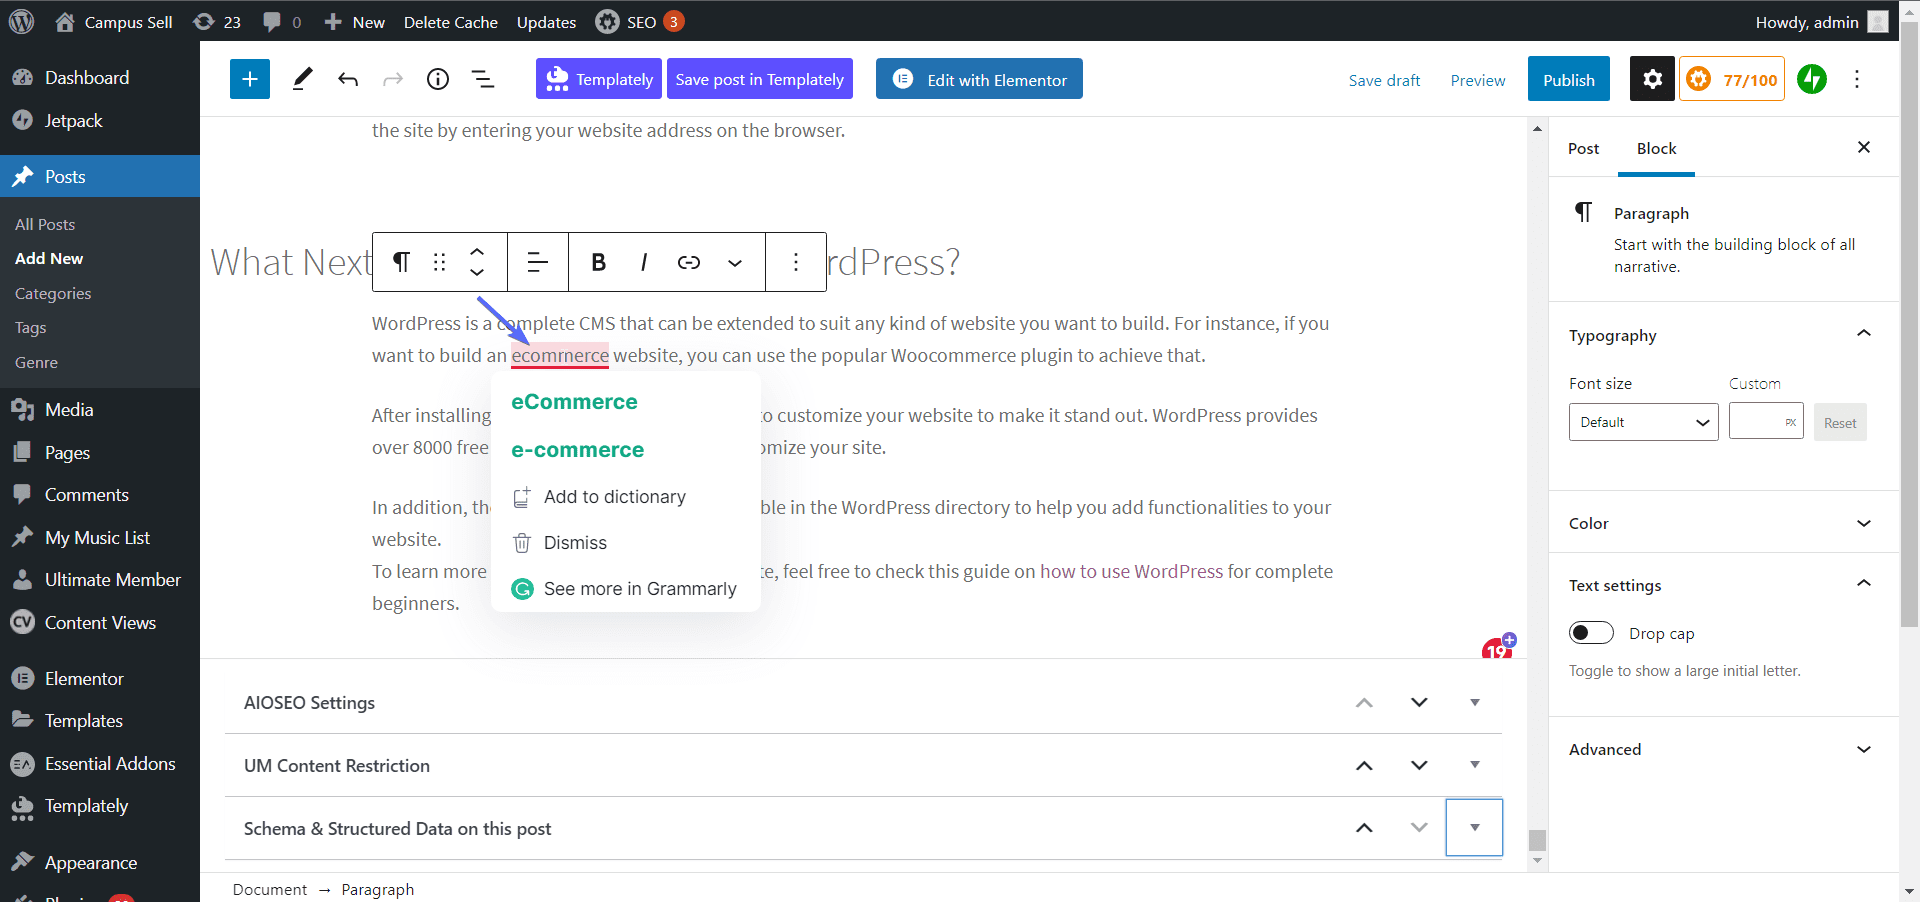
In some cases, you may want to ignore the error because Grammarly is not always correct with its suggestions. In such cases, you can simply click on Dismiss to ignore it.
At the top left side of the editor, you will find the overall readability score for your article.
After editing your work, you can either save it as a draft or publish it immediately.
The free version of Grammarly provides basic suggestions for grammar and spelling mistakes in your content. However, it will also perform advanced scanning on the document and give you the option to upgrade to premium.
With the premium version, you get all the basic functionalities. In addition, you will get passive voice detection, plagiarism detection, and advanced checking on your content.
Grammarly WordPress Integration on Mobile Devices
If you are editing your blog post on your smartphone, then you can use the Grammarly mobile application to check for errors.
You need to choose the Grammarly keyboard as the default option on your phone. So when you are typing, any error it detects will be seen on your keyboard.
Are Grammarly Suggestions for WordPress Always Correct?
Grammarly is a robust tool for checking grammar and spelling mistakes online. However, there are times you may need to disable grammar checking on your work.
For instance, when writing technical content, some of the terms used are usually not found in the dictionary. Some web hosting or technical terms such as “config file” are perfect examples.
While the spelling is correct, Grammarly would still detect the word as a spelling mistake. In some cases, it will proffer an alternate word that may not be related to the topic you are discussing.
Therefore, when using an online grammar tool such as Grammarly, you should always confirm that it is not providing false suggestions on your document.
We hope this guide has helped you improve the readability of your WordPress posts using Grammarly. For tips on how to grow your website, check this complete guide on WordPress SEO for beginners.